
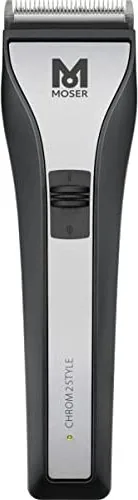
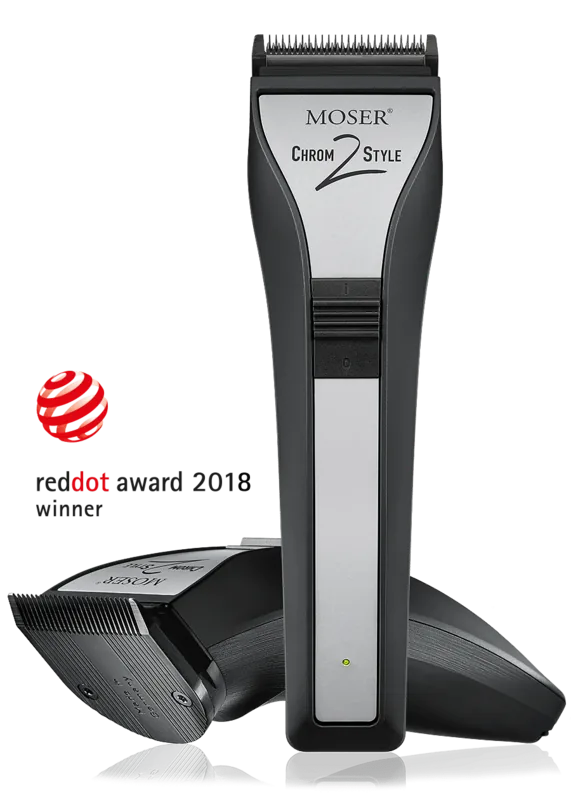
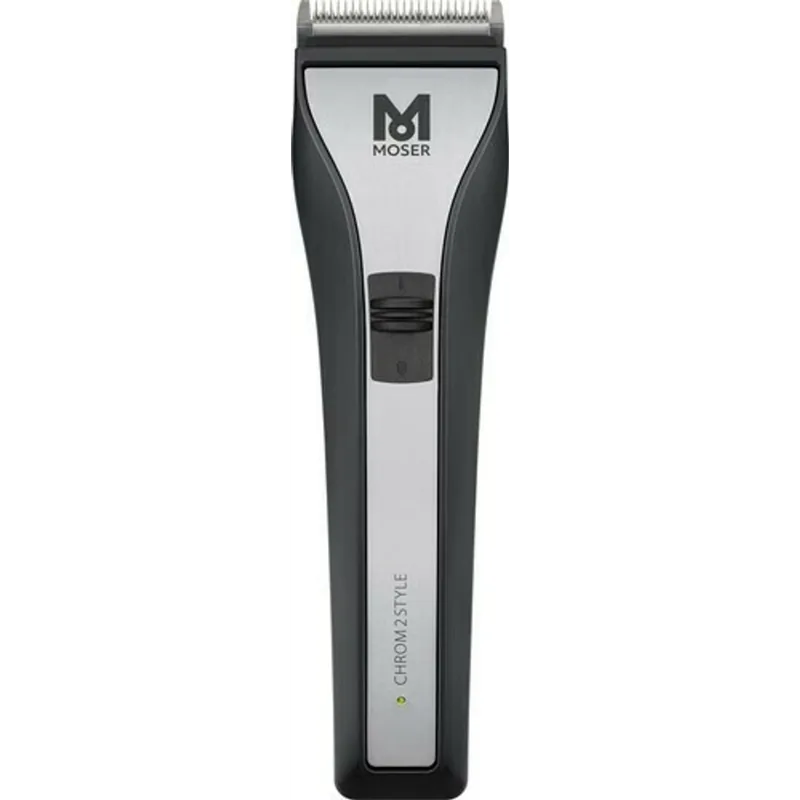
Moser Chrom2Style Rokasgramata
PDF rokasgrāmata · 88 lapas
Latviešu



Ātrā pārbaude
Nepareiza atbilde, lūdzu mēģiniet vēlreiz.
Sarunājieties ar savu Moser Chrom2Style rokasgrāmatu, izmantojot AI
Saņemiet tūlītējas AI atbildes no savas Moser Chrom2Style rokasgrāmatas
Jautājiet ko vien vēlaties par Moser Chrom2Style. Atbildes nāk no šīs rokasgrāmatas, norādot lapas, uz kurām tās balstītas.
Chrom2Style Apkopes grafiks
Ja griezuma veiktspēja pasliktinās, neskatoties uz regulāru tīrīšanu un eļļošanu pēc ilgstošas lietošanas, nomainiet asmeņu komplektu.
Noņemiet piestiprināto ķemmi, paceliet asmeņu komplektu un noņemiet matu atlikumus ar tīrīšanas suku un tīrīšanas sviru. Uzturiet lādēšanas kontaktus tīrus.
Eļļojiet asmeņu komplektu ar ieteicamo eļļu pēc katras dažām lietošanas reizēm, lai nodrošinātu labu griezuma veiktspēju un ilgu kalpošanas laiku.
Bezmaksas apkopes atgādinājumi
Pielagots jusu iegades datumam. Vienmer bez maksas, varat atteikties jebkura laika.
Uzdot Jautājumu
Vai jūs ieteiktu Chrom2Style?
Jā NēBiežāk uzdotie Jautājumi
Pilnībā uzlādēts litija jonu akumulators nodrošina līdz aptuveni 120 minūtēm darbības, pieņemot, ka asmens komplekts ir tīrs un pareizi eļļots. Smagi vai sliktā stāvoklī uzturēti asmeņi var būtiski samazināt darbības laiku.
Vai šī atbilde bija noderīga?
Indikators rāda uzlādes līmeni: pastāvīga zaļa nozīmē 100%–20%, ātra zaļa mirgošana nozīmē 20%–5%, un pastāvīga sarkana nozīmē 5%–0%. Ja indikators mirgo sarkans, pārbaudiet, vai asmens nav aizsērējis vai iestrēdzis, un, ja problēma saglabājas, sazinieties ar servisu.
Vai šī atbilde bija noderīga?
Nē. Pastāvīga tīkla darbība nav ieteicama, jo adaptera kabelis nav paredzēts nepārtrauktai mehāniskai slodzei. Tīkla lietošana ir ieteicama tikai īsos periodos, kad akumulators ir iztukšots.
Vai šī atbilde bija noderīga?
Vienmēr izslēdziet un atvienojiet pirms tīrīšanas. Noņemiet ķemmi, izņemiet asmens komplektu, izķemmējiet matus ar tīrīšanas birsti, ieslēdziet tīrīšanas sviru iesprostoto matu noņemšanai, noslaukiet korpusu ar mīkstu mitru drānu un bieži eļļojiet asmeni ar ražotāja ieteikto asmeņu eļļu.
Vai šī atbilde bija noderīga?
Vispirms rūpīgi iztīriet un eļļojiet asmens komplektu. Ja veiktspēja neuzlabojas, asmens komplekts var būt nolietots vai bojāts un jāaizstāj. Pārbaudiet bojātus zobu galus un izvairieties no pārmērīga spiediena griešanas laikā.
Vai šī atbilde bija noderīga?
Pilnīga uzlāde aizņem aptuveni 80 minūtes, izmantojot piegādāto adapteri un uzlādes statīvu, pēc kuras kapacitātes indikators rādīs stabilu zaļu gaismu, kas signalizē par pilnu uzlādi.
Vai šī atbilde bija noderīga?
Rīkojieties atbilstoši vietējiem noteikumiem saskaņā ar ES WEEE direktīvu: izlādes akumulatorus pirms utilizācijas un nododiet ierīci un akumulatorus pašvaldības savākšanas punktos vai pārstrādes centros. Neizmetiet ierīci kopā ar sadzīves atkritumiem.
Vai šī atbilde bija noderīga?
Priekšrocības un Mīnusi
Priekšrocības

- Vada/bezvada elastība ar līdz pat 120 minūšu darbības laiku nepārtrauktām apgriešanām.
- Kompakts, viegls dizains (178 x 48 x 51 mm; ~275 g) ērtai lietošanai.
- Integrēta griešanas garuma regulēšana (0,7–3 mm) un pēc izvēles ķemmes līdz 25 mm.
- Inteliģenta uzlādes pārvaldība novērš akumulatora pārlādēšanu; skaidras LED uzlādes indikācijas.
- Viegla apkope: noņemams asmens komplekts, tīrīšanas birste un ieteicamā asmeņu eļļa.
Trūkumi

- Adaptera kabelis nav paredzēts nepārtrauktai tīkla darbībai — tīkla lietošana tikai īstermiņā.
- Asmeņa veiktspēja un akumulatora darbības laiks ir atkarīgs no biežas tīrīšanas un eļļošanas.
- Dažas ķemmes ir izvēles piederumi un var nebūt iekļautas visos modeļos.
- Uzlādes laiks ir relatīvi ilgs (aptuveni 80 minūtes) pilnai uzlādei.
- Problēmu novēršanai var būt nepieciešama servisa centra iejaukšanās; neveiciet remontu paši.
Produkts Specifikācija
Tips
Matu griezējs
Darbības režīms
Darbība no tīkla, Darbība no akumulatora (Li-ion)
Krāsa
melna, sudraba
Griešanas garumi
0,7-3 mm
Griešanas platumi
46 mm
Piederumi
4x ķemmes uzgalis (3 mm, 6 mm, 9 mm, 12 mm)
Ipašas funkcijas
automātiska sprieguma regulēšana (110-230 V), uzlādes indikatora gaisma, uzlādes statusa displejs
Darbības laiks
2 h
Uzlādes laiks
80 min
Komplektācija
Lādētājs, Uzlādes stacija, 4x uzgalis, Tīrīšanas birste, Eļļa
Produkts Apraksts
Moser Chrom2Style rokasgrāmata — Īss pārskats
Moser Chrom2Style rokasgrāmata aptver vadu/bezvada matu griešanas mašīnīti Tips 1877, daudzpusīgu kopšanas rīku profesionālai un mājas lietošanai. Šim modelim ir DC motors ar asmens komplektu, litija jonu akumulators ar aptuveni 80 minūšu uzlādes laiku un līdz 120 minūšu darbības laiku, kā arī kompakta ergonomiska korpusa izmēri (178 x 48 x 51 mm, ~275 g). Komplektā parasti ietilpst uzlādes statīvs, barošanas adapteris (Adapter 6000), vairāki pievienojamie ķemmes stiprinājumi (1.5–25 mm pēc izvēles), tīrīšanas birste un asmeņu eļļa.
Galvenās īpašības un lietošana
Rokasgrāmatā izskaidrotas drošības un sagatavošanās darbības: izlasiet visus drošības norādījumus pirms pirmās lietošanas, saglabājiet dokumentāciju un ievērojiet sprieguma vērtības. Ierīci var uzlādēt vai nu tās uzlādes statīvā, vai tieši, izmantojot adapteri. Lādēšanas stāvokļa indikators rāda akumulatora līmeni ar zaļu (100–20%), ātru zaļu mirgošanu (20–5%) un sarkanu (5–0%). Inteliģenta uzlādes pārvaldība novērš pārlādēšanu; ierīce pāriet enerģijas taupīšanas režīmos pēc īsas dīkstāves.
Griešanas garumu var regulēt, izmantojot integrētu sviru asmens komplektā ar piecām pozīcijām no 0,7 mm līdz 3 mm. Pēc izvēles pievienojamie ķemmes stiprinājumi paplašina apgriešanas garumus līdz 25 mm. Rokasgrāmatā aprakstīts ķemmes stiprinājuma/piestiprināšanas un noņemšanas veids, ieteicamā īstermiņa tīkla lietošana tikai (adaptera kabelis nav paredzēts pastāvīgai tīkla darbībai) un droša ieslēgšanas/izslēgšanas procedūra.
Apkope un kopšana
Apkopē norādīts uzsvars uz drošību (atvienot pirms tīrīšanas), izvairīšanos no iemērkšanas ūdenī un agresīvu šķīdinātāju aizliegumu. Nepieciešama regulāra tīrīšana ar piegādāto birsti, bieža asmeņu eļļošana un uzlādes kontaktu tīrība, lai saglabātu veiktspēju. Norādījumi aptver asmens komplekta noņemšanu/nomaiņu (vienkārša snap-in/snap-out), un VIENKĀRŠAS TĪRĪŠANAS procedūru, lai noņemtu iesprostotus matus starp asmeņiem.
Problēmu novēršana un utilizācija
Rokasgrāmatā uzskaitītas biežāk sastopamās kļūmes: vāja griešana vai šķēršana (tīrīt/eļļot vai nomainīt asmeni), ādas savainojums (samazināt spiedienu vai nomainīt bojātu asmeni), īss akumulatora darbības laiks (tīrīt/eļļot asmeni vai nomainīt novecojušu akumulatoru) un indikatoru problēmas (pārbaudīt novietojumu lādētājā, notīrīt kontaktligzdu, pārbaudīt barošanas avotu). Ja sarkana mirgošana saglabājas, sazinieties ar pilnvarotu servisu; nekad nemēģiniet remontēt paši. Utilizācijas norādījumi atbilst WEEE noteikumiem: izlādes akumulatorus, nododiet ierīci pašvaldības savākšanas punktos vai pārstrādes centros un pārstrādājiet iepakojumu.
Piezīmes
- Ierīce atbilst ES elektromagnētiskās saderības direktīvai 2014/30/EU un mašīnbūves direktīvai 2006/42/EC.
- Pievienojamie ķemmes stiprinājumi var atšķirties atkarībā no modeļa un ir izvēles piederumi.
- Ja pastāvīgas problēmas, sazinieties ar ražotāja servisa centriem PDF rokasgrāmatām, CE deklarācijām, rezerves daļām vai remontiem.
Meklēt: 67 706 Rokasgrāmatas tiešsaistē


Ievadiet zīmolu vai modeli